Developing the Mule Rack
Sean MailenBack in 2016, I started experimenting with the idea of using sheet metal in a cargo rack. At the time, I was working at Salsa Cycles and had just wrapped development on the Anything Cage V2 and the Anything Cradle. At this time I had already designed several tubular racks and even though I think they are great for a lot of things I wanted additional functionality that they didn't have.
Most tubular provide a basic structure but don't have mount points for things other than panniers. That’s ok for commuting, but in bikepacking accessibility and cargo can change as the trip progresses. Sometimes you want your rain gear easily accessible other times its bulky food items that you just picked up.
Strap-on panniers like the Freewheel Mission Hermosa UL or San Util Mini Panniers helped solve the issue of hard-mount panniers breaking racks or vice versa. These bags helped prevent rack failure but I still found I wanted additional versatility from the rack itself.
Then there’s the dreaded gear sag—that moment your gear shifts mid-ride and gets sucked into your spokes. Tubular racks often have too few lash points on the deck or don’t have them where you need them. You’ve got a stable load… but no way to strap it confidently.
I wanted a rack that could run strap-style panniers or carry drybags, water bottles, cages, food bags—whatever the trip required—without worrying about sag or access. It had to be versatile, stable, and modular.
The First “Cheese Grater”
In 2016, I designed a prototype using laser-cut sheet metal and a few redneck-engineered 2x4 bending jigs. It looked like a giant cheese grater, but it worked. The concept was valid! Unfortunately, life didn’t give me much room to explore it further at the time—but the idea always stuck with me.
Fast forward to 2024. I was chatting with my friend Brett about future adventures. He mentioned his upcoming Outlaw Tour and how brutal the terrain would be. He didn’t want to run a seat bag—he wanted a rack and panniers. But he’d broken his fair share of racks and was wondering if I had any ideas. That old “cheese grater” concept rose like a phoenix from the ashes.
Brett was curious about the design and the use of sheet metal. I explained sheet metal can get a bad wrap as cheap or simple but you don't have to look very far (automotive or aerospace) to see its very common and effective. Sheet metal parts aren’t just cost-effective—they can also be highly sophisticated solutions to complex problems, leveraging clever design to achieve strength, precision, and efficiency. A few key advantages of a sheet metal rack are:
- No welds = fewer fatigue-prone failure points.
- No swaging = less stress concentration hot spots
-
5052 aluminum sheet can be cold-worked (laser cut and bent) without strength loss.
-
Infinite strap points and slots can be built into the design to give amazing versatility
- I could take advantage of the process and match a rack body with stronger, thicker “feet” where that elevated strength is needed
Brett dug the idea and said he would be happy to test it. I went to it and spent many hours designing, modeling, and running hundreds of FEA simulations. Virtual testing is good but anyone who's bikepacked knows that no matter how many virtual tests you do what matters is real-world backcountry use. Bikepacking is incredibly dynamic - weird loads, bad roads, and braking bumps that go for miles can be destructive.

V1 prototype after 500+ miles. It took a beating and helped to guide improvements.
Real Testing on the Wild Bunch Tour
I was able to partially join Brett and Diana on the Outlaw Tour. Brett and Diana had already pushed the racks hard by the time they made it to the Kokopelli in Utah but I saw Diana's rack bend when she took 12 liters of water down infamously rough terrain on one side of the rack. I fully expected something to happen on the trip but seeing it in real time was impressive. The pannier being very heavy and a bit loose meant it was like a bowling ball on a tether. I saw exactly where the design needed improvement. She finished the ride (with a field-repair reinforcement), and I came home excited to make V2 even better.
Outlaw Tour - Post rack reinforcement and moving some water to the top deck
Baja Divide and V2 Refinement
V2 adopted user feedback then underwent hundreds more FEA tests. Once again, Brett and Diana hit the trail—this time tackling thousands of miles on the Baja Divide, one of the roughest long-distance rides in North America.

One of the many FEA results on the V2 prototype
A few weeks in, Brett called me: “I’ve seen at least five broken racks down here. No issues with the Mule Rack though.” We were close but not done. Even though V2 held up incredibly well, we saw room to make it lighter, even a little stronger, and more focused on easy of use with strap-style panniers. I added a few more lash points, refined the mounting details, and ran (you guessed it) hundreds more simulations.


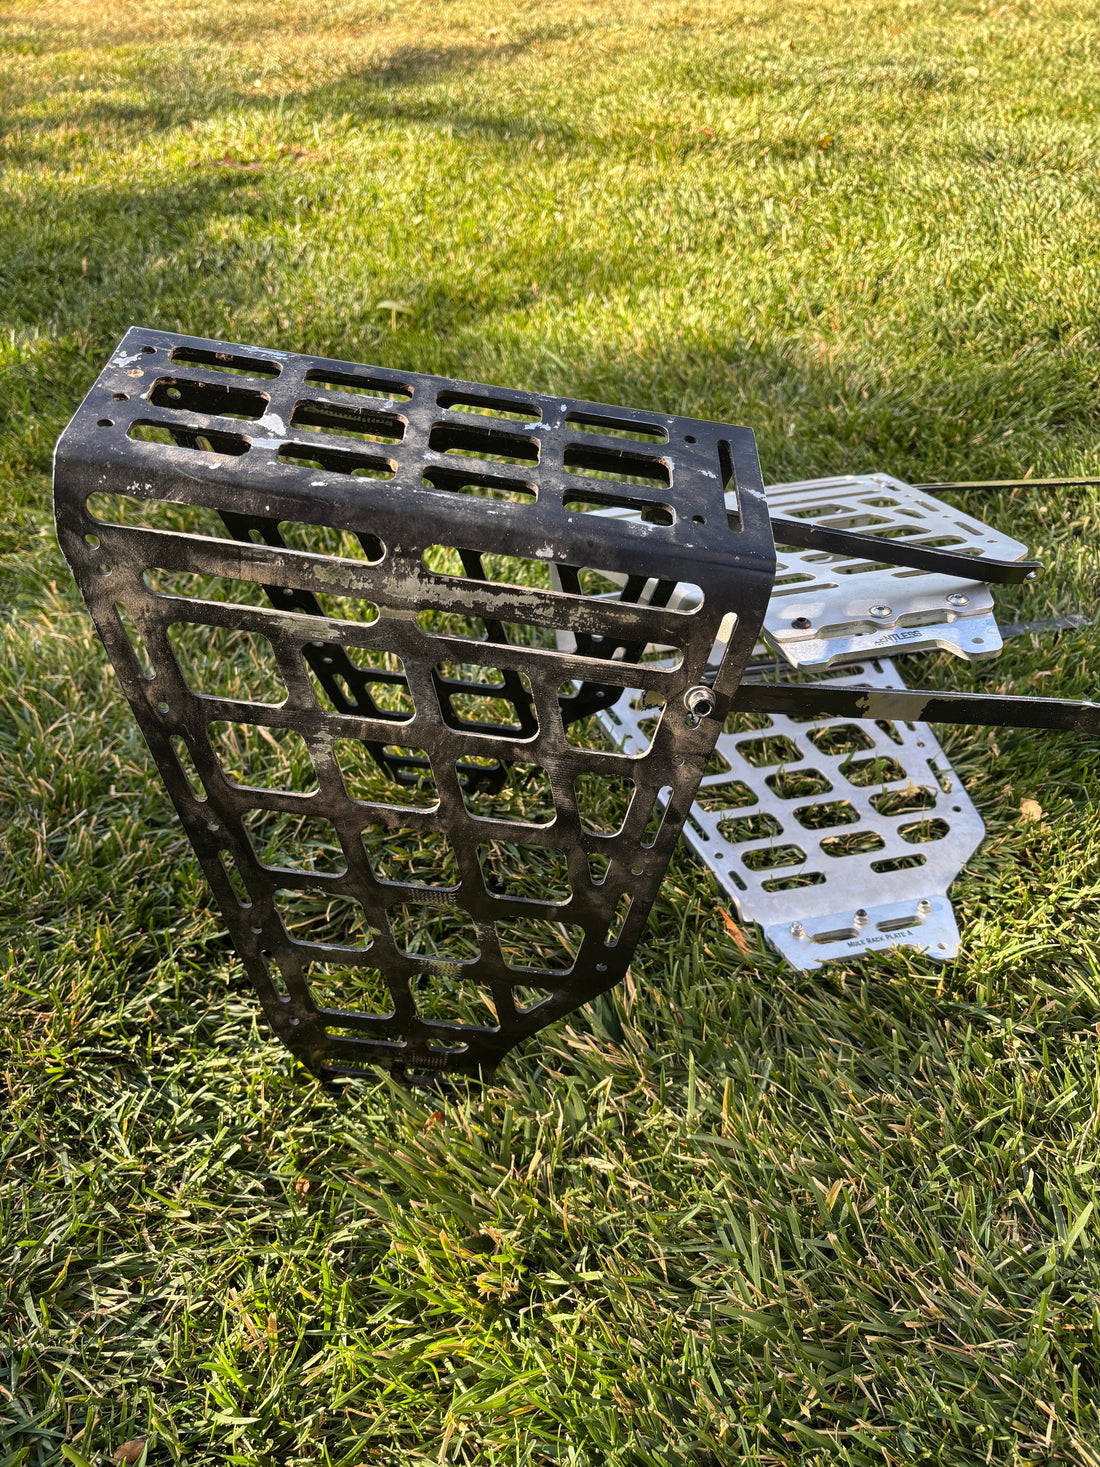
V2 and V1 prototypes

Pushing through another sandy section on the Baja Divide
Production-Ready at Last
Finally, the production version of the Mule Rack was ready. It’s the result of several versions of prototypes, thousands of real-world trail miles, countless late-night design tweaks and simulations. It’s a rack built to solve real bikepacking problems—not just “commute to work” problems. Whether you’re riding singletrack deep in the desert or the Tour Divide, the Mule Rack is ready.
